
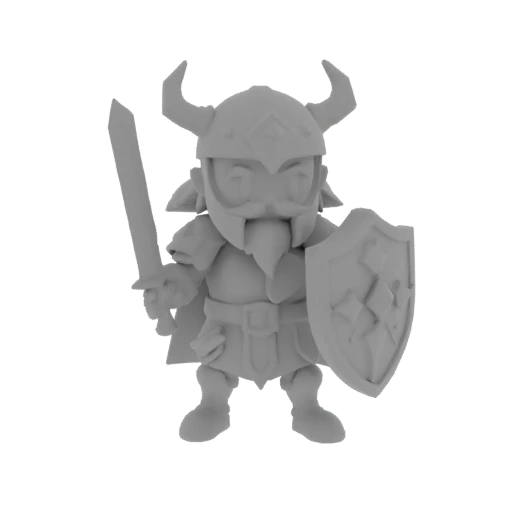
Reference Image

Generated 3D Result
Loading 3D preview
Viking Knight
A chibi viking knight character with sword and shield, toy-like style
- Input mode
- Single Image
- Quality
- High Detail
- Texture
- Texture On
IMAGE TO 3D
Upload one image for a fast 3D draft, or add multiple views for better shape control. Choose an AI model, set the quality and texture, preview the result from every side, and export it for your 3D workflow.
Single or multi-image input Browser-based 3D preview GLB, OBJ, and FBX export
Compare a reference image with its generated 3D result, then open the sample in the workspace to inspect it from every side.
A chibi viking knight character with sword and shield, toy-like style

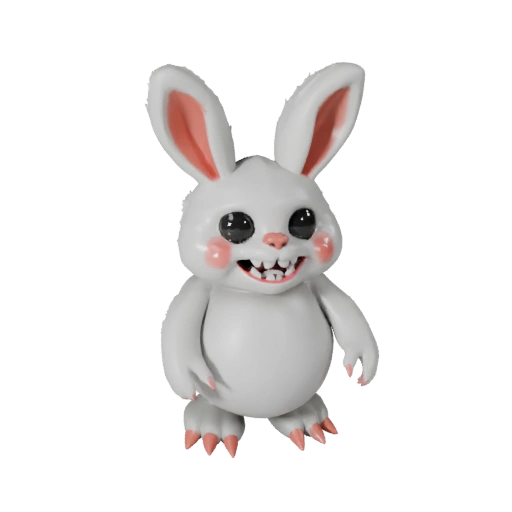
A fuzzy bunny monster collectible toy with soft fur details and clean silhouette

A retro futuristic motorcycle concept with polished metal and hard-surface geometry
Single Image
Use one clear reference image when you want the fastest route from a visual idea to a 3D draft. The AI uses the visible shape and estimates areas that the image does not show.
Multi Image
Add front, side, back, or three-quarter views when you want more visual information about the overall shape and hidden sides of the model.
Additional views provide more visual information, but generated models should still be inspected before downstream use.
Image to 3D can work with many kinds of reference images, but clear subjects and readable shapes usually produce stronger 3D drafts.
How it works
Step 01
Start with one image for a fast draft, or upload multiple views when you need more information about the overall shape.
Step 02
Choose a clear subject image, or open one of the existing samples to test the workflow before uploading your own asset.
Step 03
Choose the available AI model, use Fast Draft for an early shape test, and move to Standard or High Detail when the direction is worth refining. Turn texture off when you only need geometry.
Step 04
Rotate the generated model in the browser, inspect the front, back, edges, and hidden areas, then export the supported result as GLB, OBJ, or FBX.
Capability Notes
Image to 3D uses the visible shape, color, and surface information in your reference images. Areas that are not shown, including the back and underside of an object, must be estimated. Multi-image input can provide more visual information, but every generated result should still be inspected before downstream use.
Turn character artwork into an initial 3D draft for silhouette review, posing experiments, or further sculpting and cleanup.

Convert concept images of weapons, furniture, machines, and environmental objects into early assets for prototyping.
Review a product idea from multiple angles before moving into detailed CAD or manual 3D modeling.
Turn mascot, toy, and figurine concepts into 3D drafts that can be inspected from different viewpoints.
Rotate the generated model in your browser before downloading it. Check the visible shape, hidden sides, proportions, and surface direction before continuing in another 3D application.
A compact format for keeping supported geometry, materials, and textures together in one file.
A widely supported format for traditional 3D editing workflows.
Useful for transferring supported 3D assets into compatible content creation tools and game engines.
Tutorial
Prepare a stronger reference image, choose between Single Image and Multi Image, select the right quality settings, inspect hidden sides, and export the result.
Related Tools
Remove a background, improve clarity, or prepare a cleaner image before starting Image to 3D.
Start with a written idea when you do not have a reference image.
Upload an existing 3D model and explore a new surface or material direction.
FAQ
Yes. Upload a clear reference image, choose the available generation settings, and let the AI create an initial 3D model that you can preview and export.
Use Single Image for a fast draft from one clear reference. Use Multi Image when you have additional views and want to give the AI more information about the sides and hidden areas of the object.
Images with one complete subject, a readable silhouette, even lighting, and a simple background usually work better. Avoid heavy cropping, overlapping objects, transparency, and extreme viewing angles.
A reference image does not show every side of an object. Areas that are not visible must be estimated by the AI. Adding more views may provide more information about those hidden areas.
Fast Draft is useful for an early shape test. Standard provides a balanced starting point, while High Detail is intended for cases where additional detail is worth the higher generation cost. The available quality options and required credits are shown in the workspace before you generate.
Yes. Turn off the texture option when you only need a simpler geometry-focused result.
The current workflow supports exporting generated results as GLB, OBJ, or FBX. The available format and compatibility may depend on the generated result and the software used afterward.
The required credits are shown on the Generate button and update according to the selected AI model, quality, input mode, and texture settings.
Upload one clear image or add multiple views, choose your generation settings, and inspect the model before exporting it.
Generate 3D from ImageFastin3D
Create images, move into 3D, and finish textures in one workflow.
© 2026 Fastin3D. All rights reserved.