
IMAGE TO 3D GUIDE
How to Turn an Image into a 3D Model with AI
Turning an image into a 3D model is no longer limited to manual tracing or starting from an empty mesh. With an AI image-to-3D workflow, you can upload a reference image, generate an initial 3D draft, inspect it from multiple angles, and continue refining it in compatible 3D software.
The quality of the result still depends on the reference image, the information visible in it, and the settings you choose. This guide explains how to prepare a stronger input, choose between Single Image and Multi Image, generate the model, and check the result before export.

What You Need Before You Start
Before generating, decide whether you need a quick 3D draft or stronger control over the full shape. A single image is often enough for an early concept, while multiple views can provide more information about the sides, back, and proportions.
- One clear image or several reference views
- A subject with a readable silhouette
- A supported browser
- Enough credits for the selected generation settings
- A place to inspect or edit the exported model afterward
If you already have a clear reference, open the AI Image to 3D Model Generator and compare the input modes before spending credits. If no reference image exists yet, you can also generate a 3D model from text as a rough concept, then return to image-based generation when you have a stronger visual direction.
Choose Single Image or Multi Image
Single Image
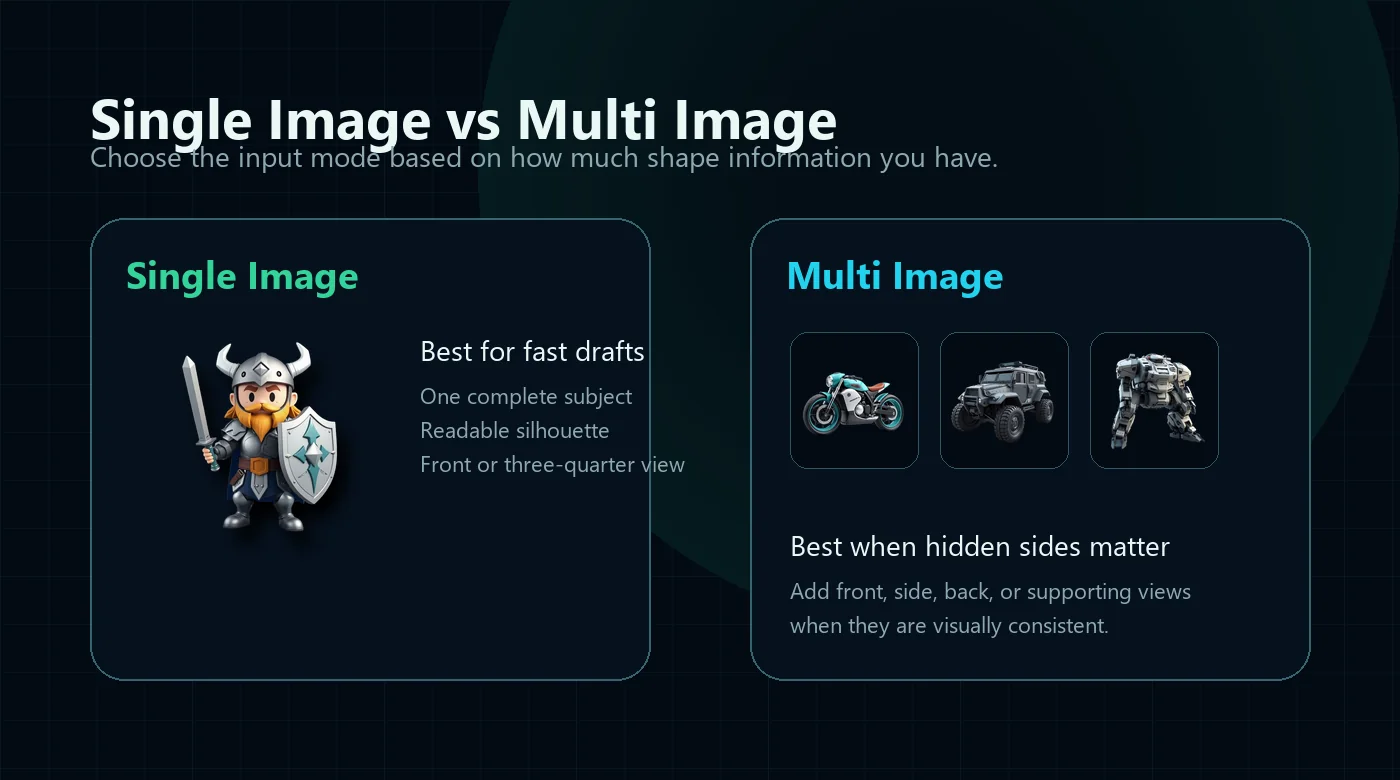
Single Image is the fastest option when you already have one clear reference. It works best when the subject is fully visible, separated from the background, and shown from the front or a three-quarter angle. Use it for quick concept tests, stylized characters, props, toys, collectibles, product ideas, and subjects with a simple shape.
The limitation is visibility. A single image does not show every side of an object, so the AI must estimate the back, underside, and other hidden areas.
Multi Image
Multi Image allows you to provide additional views such as the front, side, back, or three-quarter angle. These views give the AI more visual information about the overall form. Use it for objects with important side details, models with a distinctive back, complex shapes, projects with multiple reference views, and cases where hidden-side accuracy matters more.
More images provide more information, but they do not guarantee exact reconstruction or production-ready geometry. The views also need to describe the same subject consistently.
Prepare a Better Reference Image
A stronger input usually has one complete subject, a clean or removed background, a clear silhouette, even lighting, limited motion blur, limited transparency, limited strong reflections, no important cropping, and enough visible depth for the AI to infer shape.
- One complete subject
- Clean or removed background
- Clear silhouette
- Even lighting
- Limited motion blur
- Limited transparency
- Limited strong reflections
- Subject not cropped
- Enough visible depth

More Difficult Reference Image
Cropping, overlapping objects, transparency, strong reflections, or a busy background can make the shape harder to interpret. When you need a cleaner source, you can prepare and clean your reference image before moving into the Image to 3D workflow. This can improve clarity, but it does not solve every input problem automatically.
Upload the Image
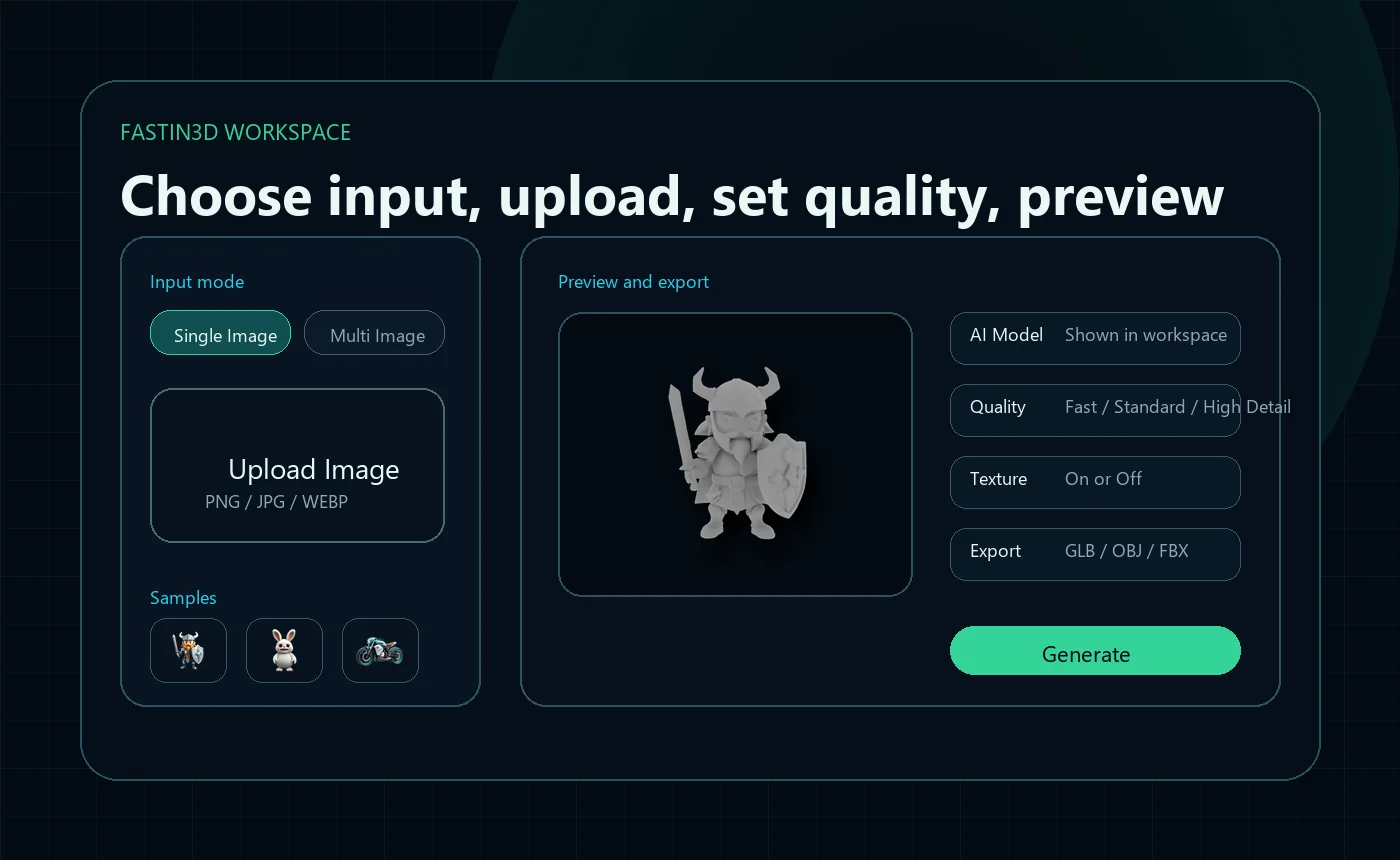
Open the Image to 3D workspace and select Single Image or Multi Image. Upload your own reference or open an existing sample to understand the workflow before spending credits on a custom generation.
A sample is useful for learning where the input mode, model selector, quality setting, texture option, preview area, and export controls sit in the interface. When you are ready, open the Image to 3D workspace and use your own reference image.
Choose an AI Model
The available AI models may differ in speed, cost, and the type of result they produce. Review the model description shown in the workspace and choose the option that fits the current draft. This guide does not treat model selection as a permanent vendor comparison because availability can change as the platform adds or updates generation providers.
The current model options are shown directly in the workspace. For a rough early test, speed and cost may matter more than fine detail. For a concept you already like, a more detailed generation may be worth the extra time or credits.
Select Quality and Texture Settings
Fast Draft
Use Fast Draft when you want to test the overall shape at the lowest available cost before committing to a more detailed generation.
Standard
Use Standard when you want a balanced starting point for shape, detail, and generation cost.
High Detail
Use High Detail when the concept direction has already been validated and additional detail is worth the higher credit requirement.
The exact credit requirement appears on the Generate button and updates according to the selected AI model, input mode, quality, and texture settings. If you are planning several tests, you can review current credit plans before starting.
Texture On or Off
Keep texture enabled when you want a generated surface and color direction together with the model. Turn texture off when you only need a geometry-focused draft or plan to texture the model separately. After export, you can add or refine textures on an existing 3D model if the shape is useful but the surface direction needs more work.
Generate and Preview the 3D Model
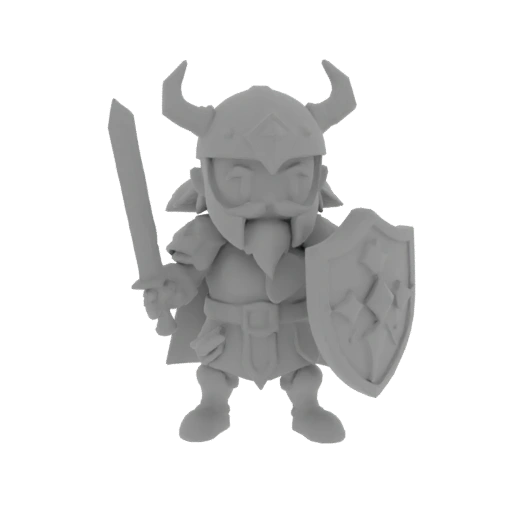
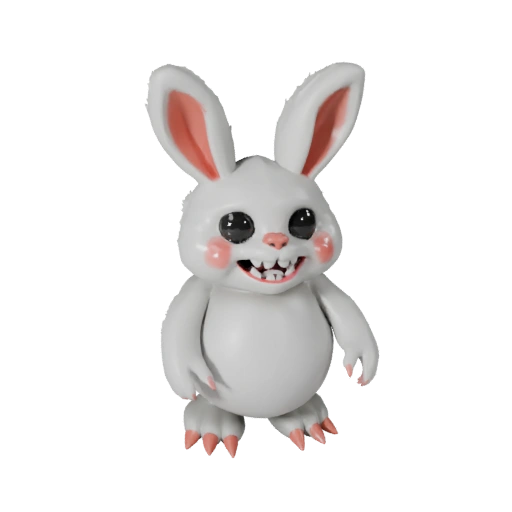
After selecting the input mode and settings, review the credit requirement and start the generation. When the result is ready, rotate it in the browser rather than judging it from a single camera angle.
- Front view
- Back view
- Side profile
- Silhouette
- Proportions
- Thin parts
- Connections between objects
- Surface direction
- Texture continuity

Export GLB, OBJ, or FBX
GLB
A compact format that can keep supported geometry, materials, and textures together in one file.
OBJ
A widely supported format for traditional 3D modeling and editing workflows.
FBX
Useful for moving supported assets into compatible content creation tools and game engines.
Choose the format that fits the software and workflow you plan to use next. Material behavior, scale, orientation, and compatibility can vary between applications, so open and inspect the exported file before relying on it in a larger project.
GLB
Export, open, inspect, then continue editing.
OBJ
Export, open, inspect, then continue editing.
FBX
Export, open, inspect, then continue editing.
Common Image-to-3D Problems
The model shape looks too generic
The reference image may lack visible depth, have a weak silhouette, or hide important sides. Use a clearer three-quarter view or add more reference views.
The back looks different from the concept
The back was not visible in the source image and had to be estimated. Use Multi Image and include a back view when available.
Parts are missing or merged
Thin geometry, overlapping shapes, strong shadows, or a cropped subject can cause problems. Use a cleaner input and make sure important parts are separated and visible.
The texture does not match the reference
Reflections, complicated lighting, a small source image, or a highly detailed surface can make texture direction harder. Generate a clearer draft first, then refine the surface in Texture Generator or compatible 3D software.
The model needs cleanup
AI-generated 3D results are useful as drafts and starting points, but complex assets may still need geometry, material, scale, or topology adjustments.
Final Image-to-3D Checklist
The complete subject is visible
The background is clean
The silhouette is readable
Single Image or Multi Image has been chosen intentionally
The quality level matches the purpose of the test
Texture is enabled only when needed
Front, back, and sides have been inspected
The credit requirement was reviewed before generation
The exported file opens correctly
The original reference image has been kept
Start with a Clear Image and Inspect Every Side
A stronger Image to 3D result starts with a clear reference and realistic expectations. Use Single Image for a fast concept draft, or add multiple views when the model needs more information about its overall shape. After generation, inspect the hidden sides before exporting the result into the next stage of your workflow.
Image to 3D FAQ
Can I turn a photo into a 3D model?
Yes. A clear photo with one complete subject can be used as a reference for an initial 3D draft. The result should still be inspected because hidden areas must be estimated.
Is one image enough to create a 3D model?
One image can be enough for a fast draft, especially when the subject has a clear silhouette. Multiple views provide more visual information about the sides and back.
What image angle works best?
A front or three-quarter view usually provides more visible shape information than a completely flat side view. The best angle depends on the subject.
Does Multi Image create a more accurate model?
Multi Image can provide more information about the overall shape, but it does not guarantee an exact reconstruction or eliminate the need for inspection.
Can I export the generated model to Blender?
You can export supported formats such as GLB, OBJ, or FBX and open them in compatible software. Material, scale, and format behavior should be checked after import.
Do AI-generated 3D models need cleanup?
Simple drafts may need little adjustment, while complex models can require geometry, topology, scale, or material cleanup before downstream use.
Related Guides
How to Add Texture to a 3D Model with AI
Learn how to upload an existing model, describe a material direction, preview the textured result, and continue editing after export.